Sunday 30 October 2011

More paint

There were two areas on the rear quarter that needed touching up. One which was a small filled area that the previous owner had done but not painted and one which he had painted but with a touch up brush and it didnt look too good, particularly close up.

The plan was to rub down both areas with some 600 grit paper, prime, 600 grit again and then spray. However, when I rubbed down the filled area it was incredibly soft and within a couple of rubs it was all gone, so I had to fill again then sand and then prime with some Upol high build primer.

Both areas were then sprayed and left overnight. I haven't got much paint left now so after these two jobs I will have to purchase another can or two. After 24 hours the areas were wet sanded with 1500 paper to get rid of a few runs and improve the orange peel effect and after some rubbing compound was applied and then some polish it looked pretty good again with nice blend and no dry patches. Well pleased. Just need to wax now but I will save that for another day.


Tuesday 25 October 2011

What next?

Well as November is fast approaching I've drawn up a list of jobs to tackle over the next month. I think I will try to tackle the following:-
  1. Change rev counter cable (gauge is now dead so I hope this is the cause)
  2. Realign the steering wheel (need to get a 1 1/16" socket)
  3. Clean under the front wheel arches and repaint with stonechip
  4. Change rocker cover gasket
  5. Check rocker arm/valve stem clearances and adjust if required
  6. Try to tune the carbs as the piston lift pin suggests they are running lean
  7. Clean K&N air filters and apply new gaskets
  8. New screws and cup washers for dash
  9. Deal with some more rust and touch up paint

Saturday 22 October 2011

What do your plugs say to you?

I noticed the other day that the rocker cover gasket needs replacing as there's a bit of oil particularly at the bulkhead end of the engine. The oil is also around the head gasket area but I'm not sure if this is just oil from the rocker cover. I do hope so.

While I was on with looking at oil seepage I decided that I would change the spark plugs as I have no idea how old they are. Well I could only get 4 plugs out so they've probably been on a while. Now I'm no expert when it comes to spark plugs but they didn't look good. Fouled generally with a bit of oil around the thread but not on the electrode and they all looked pretty similar.


  I'm hoping its the mixture or whatever rather than something more serious, is it sooty rather than total oil?. If its got to be something more serious I'm hoping valves and cylinder head rather than pistons and block. I'll have to get my hand on a better wrench to get the other 2 plugs out as I was using a simple T bar from Halfords and I need something with a long bar to get more torque.

The plugs that were in were BP6ES NGK plugs and I've put in BPR5E which is the standard plug from Rimmer Bros. Its a hotter plug as I understand but I'm not sure if thats going to help much or not.

Tuesday 18 October 2011

History

It's funny but when I got the GT6 I had a pretty clear picture as to what I would do to the car, burr walnut dash, chrome bezels, motolita wood steering wheel, black number plate with silver lettering, vinyl seats etc. Now I'm not so sure as that would be removing some originality. I've got the original service book which gives the first owner, a lady (says it all) and its stamped with the garage that sold the car and all MOTs going back to 1982 so I know the mileage in the car is definately correct and it all just adds to the history of the car.

I love a bit of history

Err... well used

The problem is the bezels are a bit rough now and I can only seem to find chrome replacements and I dont think the original dash veneer will look too good with the chrome and if I change the veneer then the steering wheel will look out of place and the seats were vinyl in the first place so thats okay then. Ahh.... it appears I'm still going to change most of it which is a bit of a shame. The only exception is the number plate as I'm now okay with more modern colour and its got the old garage details on it which I like.

Monday 17 October 2011

Okay I'll let you look now

Well before it started to get dark I managed to flat the paintwork on the door down with wet 1500 grit paper and after using some rubbing compound, polish and wax the result was... alright I suppose. Not as good as the bonnet in terms of blend but still very pleased and I know the bottom edge of the door wont be rusting out now any time soon and has saved me a potential door skinning job in the future. I also appear to have captured myself in reflection through the orange peel.


Managed to pop in to Canley Classics on my travels (its only 25 minutes from home) as someone had written down in my original service document an ignition key FS number and on the Canley website it claimed they had the key in stock. I only have one ignition key and it would have been nice to get a spare but the FS style key they had was a lot shorter than my ignition key so I'm not sure whats going on there. I'll have to get a key cut instead and just hope it fits.

The engine has been suffering from a bit of overrun on ignition switch off. I put some super unleaded 97 ron octane fuel in yesterday and after a blast up the road and getting the car up to temperature when I turned off there was no overrun. I hope the increase in octane has solved the problem but we'll soon find out.

Sunday 16 October 2011

While I'm on a roll

Bodywork was the one thing I was a bit nervous of when I decided on my GT6. Mechanical stuff and interior is no problem but anything to do with filling, sanding and painting scares me to death. However, after doing a pretty good job on the bonnet I decided to plow on with the passenger door and a small area of rust on the bottom edge.


The whole area around the sills needs a spruce up to be honest but they are still very solid so its not drop dead urgent. Firstly I removed the surface paint with 80 grit paper and a rust/sanding block. After getting back to metal all around the rust area and removing as much rust as I could I used some rust converter and filled with small amount of P38 filler.


I then set about this with 600 grit paper until it was smooth and then used some etch primer which was in turn sanded down with 600 grit paper.


Out came the Rimmer Bros aerosol again and well, lets just say I havent taken any photos just yet until Ive got rid of some the runs. I knew I was getting too confident.

Thursday 13 October 2011

Couldn't leave it alone

When I purchased the car one problem was the bonnet. The previous owner had changed the Sromberg carbs for SU HS6 carbs. The problem is these carbs give no clearance under the bonnet and one fine day someone had dropped the bonnet from a height a made one hell of a convex dent in the bonnet. Over time this paint had then cracked and so the car I got my hands on had a large dent with a big hole in where the paint had broken away and fallen off. I know I said I was going to practice and all that but once I'd gotten that 80 grit paper in my hand there was no stopping me.

No going back now!
Well it all started pretty well with the 80 grit paper and after I'd set about the dent with a hammer trying to reduce it a bit I filled the hole with P38 filler and sanded with 600 grit paper. Now the problem is I couldn't get rid of the dent totally as the bonnet clearance is zero and if I made the dent concave so I could fill it flat I would have a problem and I dont want to raise the bonnet any higher and give crap panel gaps. So I settled for an improvement, a filled hole that wasnt as big a dent.

Then came the really tricky bit. I sanded back a larger area and then primed the area to approx 6" x 6" and then used my Rimmer Bros aerosol paint to hopefully touch it up. To cut a long story short after X amount of coats and leaving to dry I came back to it 24 hours later. I then flat the area with 1500 wet paper with a touch of soap and then used a rubbing compound. It was at this point I realised I hadn't put enough paint on as I could see some primer coming through so I flatted the whole lot back again now about 12" x 12" and started to spray about 10 coats leaving about 5 - 10 minutes between each. Again 24 hours passed and after flatting a few dodgy bits and using the rubbing compound I then used some Autoglym Resin Polish and finally waxed it. After the previous effort and some serious panic setting in, I think the result is pretty good and the blend isn't bad. I think if you didnt know it had been done you probably wouldnt notice it unless you gave it some real scrutiny.

What a relief!
Another thing has cropped up in the mean time. The brakes seem to be sticking a little bit from time to time so that another one for the list...

Sunday 9 October 2011

What lies beneath

There are a few rusty areas on the car (the underside and chassis all appear to be pretty good) and a few dents that will need looking at. One on the bonnet is particularly annoying. I decided to make a start on some of the areas underneath the front wheel arches as they are probably the worst bits on the car for rust and any mistakes made can be rectified (or not) and its out of harms way. I need to practice a bit before I take on the few areas that are on the outside of the car especially the bonnet.
Inner front wheel arch. Not a pretty sight
Started by sanding the lip of the inner front wheel arch and got down to bare metal in places then skimmed across with some P38 filler before sanding again with 600 grit paper. Not sure if this is exactly the right way but like I say its out of sight and a good practice. What I dont want to do is take the whole bonnet off and tackle it all in one go as I still want to drive the car as often as I can.

Saturday 8 October 2011

Time for a quick spin

Although the weather isnt exactly great at the moment as the roads were dry I went out for a quick spin this afternoon in the car to see if all is okay. The first thing to note is how much better the car looks after my hours of polishing, waxing and chrome buffing. Compared to how it looked a week ago I'm really pleased. The second thing is wow.. it actually goes and runs really smooth, I think I've surprised myself (it must be all those old episodes of Wheeler Dealers). I took my kids over to my parents, one at a time  (they drew lots who could go first, how cool is that) and it really is a great little car.

Now I have to decide what to look at next and the list really is endless but the bodywork is probably the most important as I dont want any of the rust (its hard to see on the photos but its there) to get worse and so needs to be dealt with. On the smaller side I need to realign the steering wheel and flush the coolant.


Looking good but plenty to be done

Thursday 6 October 2011

Distributor and timing

Well my parts arrived from Rimmer Bros and so after reading the workshop manual a few times I bit the bullet and started with the distributor to replace the condenser, points and rotor arm. All the bits came out easy enough but the first problem was struck when the new condenser didn't fit without fouling against the centre cam. Checking the old and new there is clearly about 1mm difference in the diameter of the main cylinder of the condenser so I had to bend the mounting bracket to gain the required clearance. Once I'd got the points in place I used a 0.015" feeler gauge and tightened everything up. lastly on went the rotor arm and the cap was put back on for a quick test. Hooray.. it fired up no problem but did sound a bit rough so then came the bit that I was uncertain of... static timing.

New parts installed

I needn't have worried as using the workshop manual I first found 7 deg BTDC (I went with 7 deg as I'm using unleaded 95 ron with additive and the manual states if you're using old 4 star 97 ron to set it to 7 deg), and then with the rotor arm pointing towards where cylinder 1 is firing TDC I undid the pinch bolt and rotated the whole distributor very slightly until the points just separated and then tightened the pinch bolt back up and put the cap back on.

It started first time and once it had settled and the choke was back in I left it running for about 5 minutes and it sounded great. I can't wait for a clear day now so I can give it a spin to see if its okay or still needs a tweak. At some some point in the future I will try dynamic timing but with no timing light it will have to wait.

After the high of making it work I then noticed a small leak coming from the top radiator hose. It looked more like a loose clip than a split but I couldn't tighten the clip as it was solid, so I gave it a squirt of WD40 and left it for a couple of hours. When I came back I was able to tighten it up a bit more and when I fired her up again the problem seemed to have been solved.

Wednesday 5 October 2011

Interior issues

I've now ordered new parts for the distributor, spark plugs and HT leads and I hope these changes will get my baby firing on all 6 cylinders. Meanwhile I continued the clean down with a look at the interior. The seats were originally vinyl but have been recovered with cloth about 5 years ago and are still in pretty good condition. In time I will change them back as I prefer the look of the vinyl. The dash is a little tired and the gauge bezels are showing some rust signs but the carpets are only 1 year old so overall its not bad. The rev counter only works intermittently and it appears the back light has fallen out as its hanging down next to an aftermarket oil pressure gauge which is fitted to the side of the ignition. The worst part of the interior is the glass which is caked in god knows what and is a real bitch to clean (I'm going to have arms like Arnie after all this).

I've seen a lot worse
The only other things that I will change are the steering wheel position which isnt quite straight (I may change the whole wheel in time), the overdrive gear knob shows reverse in the wrong direction and when money allows the dash will be changed, oh, and the stereo cassette player is a definate got to go and will be replaced with something a little more period.

Tuesday 4 October 2011

The clean up begins

While the car was sitting in the garage unable to move (the car budget is blown for this month) it was time to see whether I could bring the paintwork back to life. I'd got myself a random rotary polisher but didn't have any polish so ended up getting a nice cheap bottle of original T-cut in an attempt to improve my arm muscles.


The roof came up not bad at all
After pushing the car out on to the drive and about 3 hours of hard labour my arms were aching and I was physically dripping on the just polished paintwork and so decided to come back to it another day. I'd polished and waxed the bonnet, roof and tailgate.


Right side partially polished. See the difference! 


Dull or what!

Before I'd got the car I'd measured out the size in the garage to see how much room I'd got but either the car has grown or my garage has shrunk as the car seemed a bit smaller when it was just some pieces of wood laid out on the garage floor. There's loads of room but unfortunately the majority is above the cars roof!

A bit of a squeeze

Sunday 2 October 2011

The Moment of Truth

About 10 years ago a then neighbour of mine reversed a fantastic looking car out of his garage and roared off down the street. I didn't know it at the time but, that was the moment I was slightly bitten by the Triumph GT6 bug.  His car, as it turned out, was a Mk2 in Damson Red and it looked and sounded great.

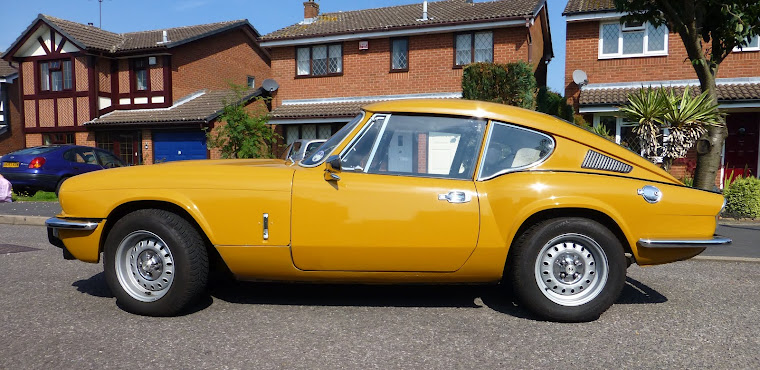
Fast forward to 2011 and the time had come to get my hands on a GT6.  I had no idea if it would be a Mk1, 2 or 3 but over the course of the year I looked at all options and came close to buying a Mk1 at one point, but it was too big a job for me in a single garage and so I decided to look for a Mk3, (availablity of spares probably being slightly better) that ran, had an MOT, was tax exempt (pre 1973) but I could improve and restore over a period of time. The car I chose came as a bit of a shock, Saffron Yellow!, not a colour I can honestly say was on my radar but when I saw the car I found beneath all that oxidised paint, something quite special. I had finally got my very own Triumph GT6 1972 Mk3.


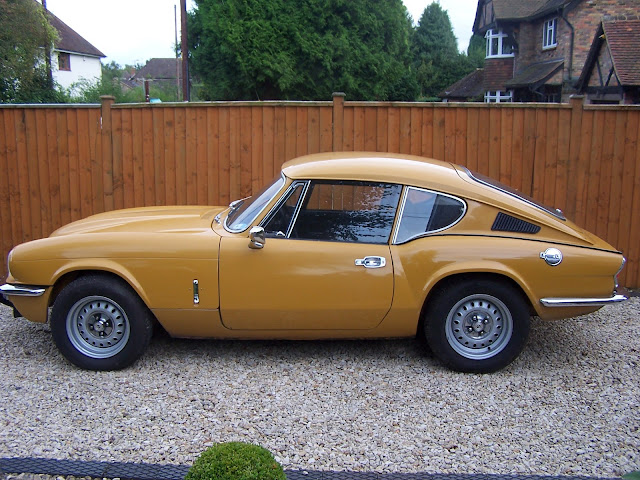
The car when I collected it. Looks okay from a distance but the paint was dead.


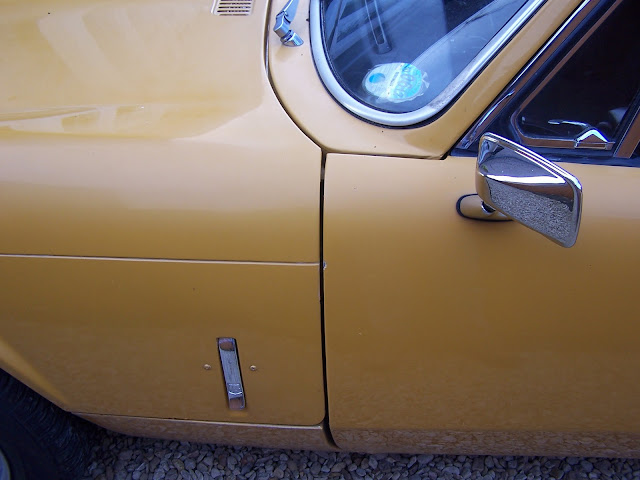
Err...What reflection?

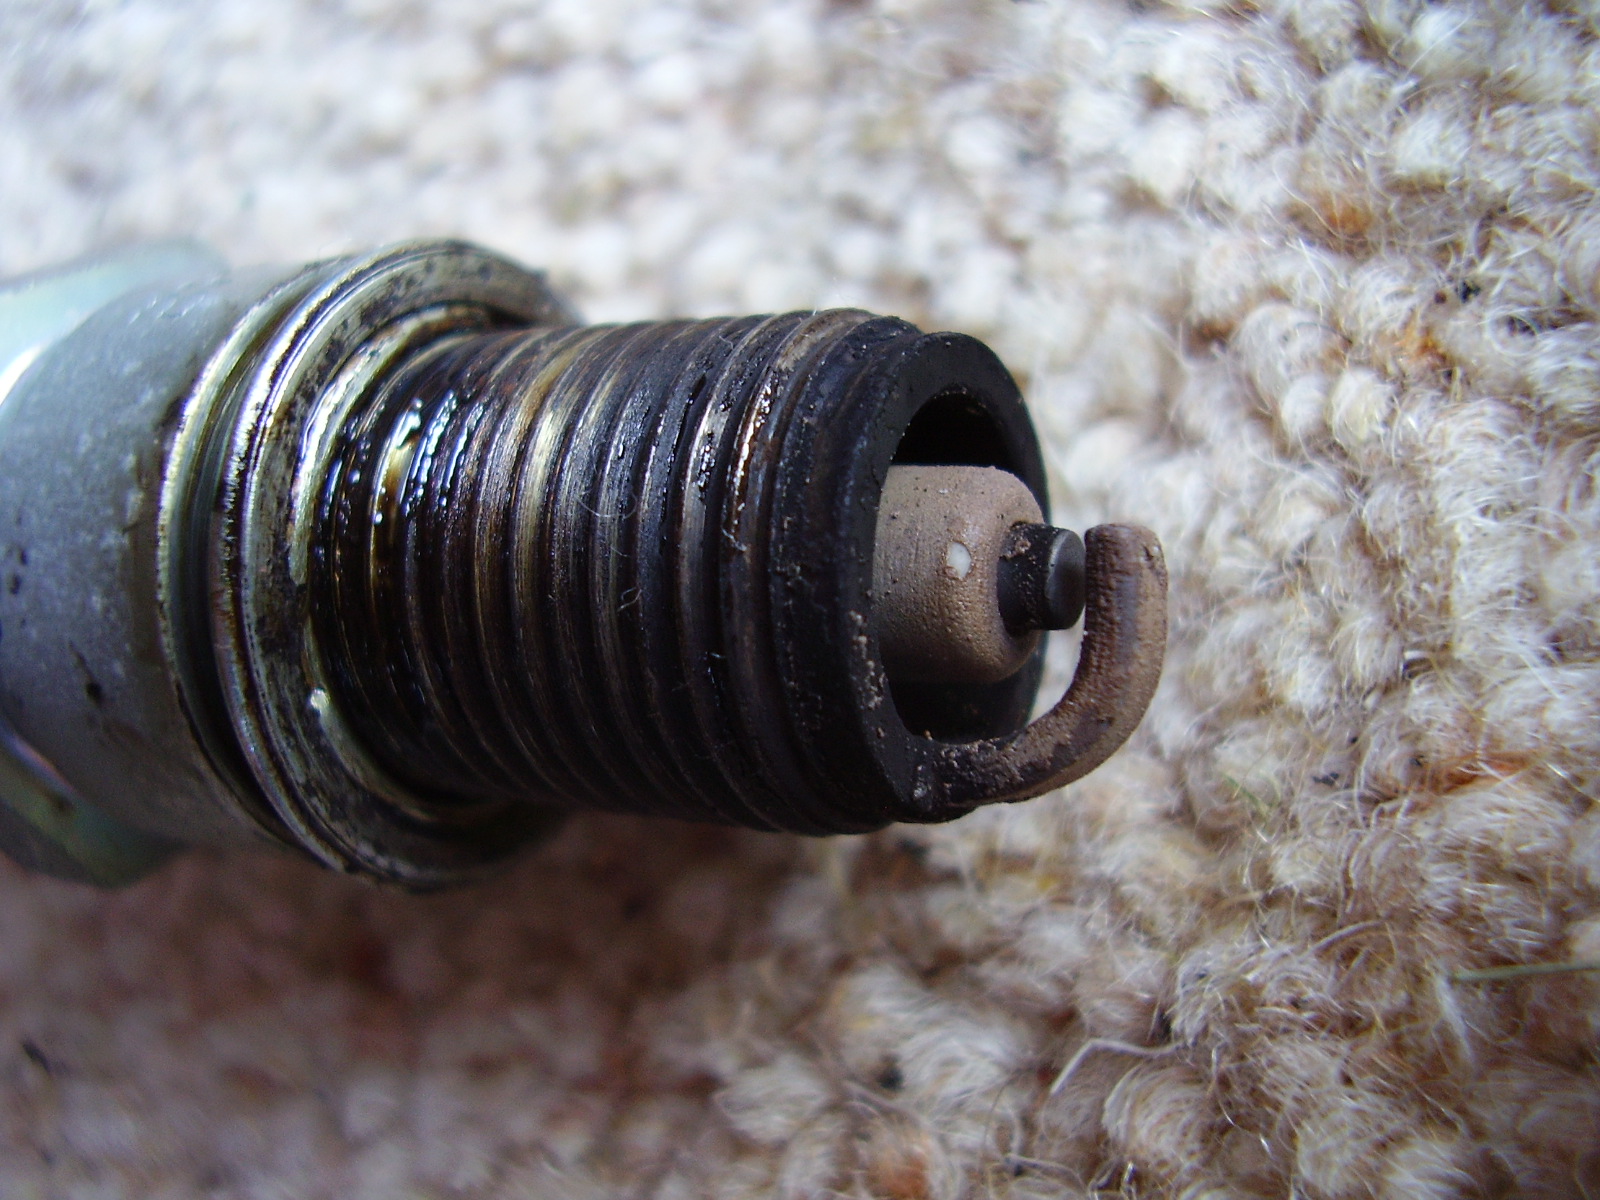
I picked it up in September 2011 and made the brave (or suicidal) choice to drive it the 100 odd miles home. Unfortunately about 2 miles from home it started to kangeroo down the road and gave up the ghost. The points apparantly and so my steep learning curve has begun.

The car died 2 miles from home

Waiting for the AA
                                              
Over the next, well... god knows how long, I hope to bring you all the ups and downs of owning this car and trying to keep it alive.